
Back To Colombia
In a couple of weeks I will be traveling to the city of Manizales, a place very close to Pereira , the city where I was born. There, I will be conducting a CG Lighting Workshop and will also be giving a talk about what I do.
I know that I’m supposed to inspire people with these talks, but I think that I end up getting the most inspiration from them. It always happens that I meet people with so much energy and so much talent!
I know it’s a lot of work, but it’s more rejuvenating and motivating than a vacation. 🙂
Cookies
Introduction
This is not meant to be a tutorial, but more of a “tips and tricks” sort of post. So please excuse me if I don’t elaborate too much. Some of you might find this to be too obvious, but I hope that some will find it a little motivating and inspiring .
What is a “Cookie”
 |
 |
| Megamind DreamWorks Animation |
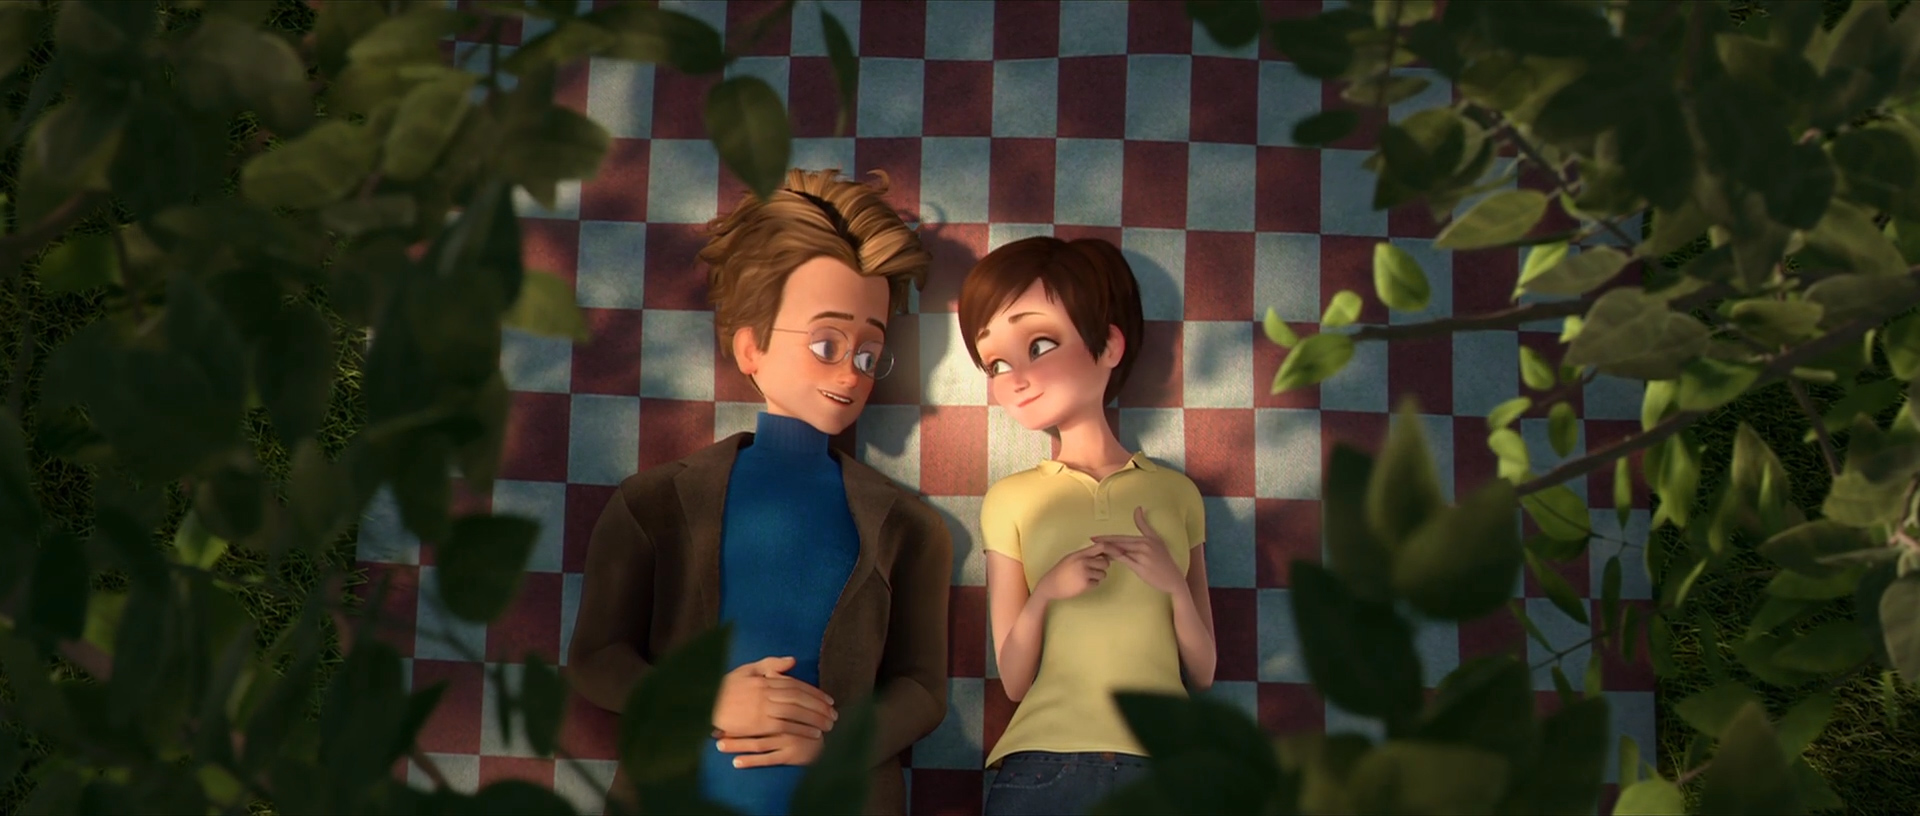
Just to clarify, I’m not talking about the edible ones. “Cookie” is the short name for “Cucoloris”. This is also referred to as a “Dapple” or “Gobo”. While in real life one can argue that Dapples, Gobos, and Cookies are different, in the virtual world they’re all pretty much the same. They differ in the real world because some are made of metal, some of plastic or cloth, some are positioned away from the light and some are fixed onto the actual light. The final result is all the same though, and that’s what we look for in CG. The point is to project some type of pattern through the light to break up the intensity in certain places. It can even be used to add some color variations.

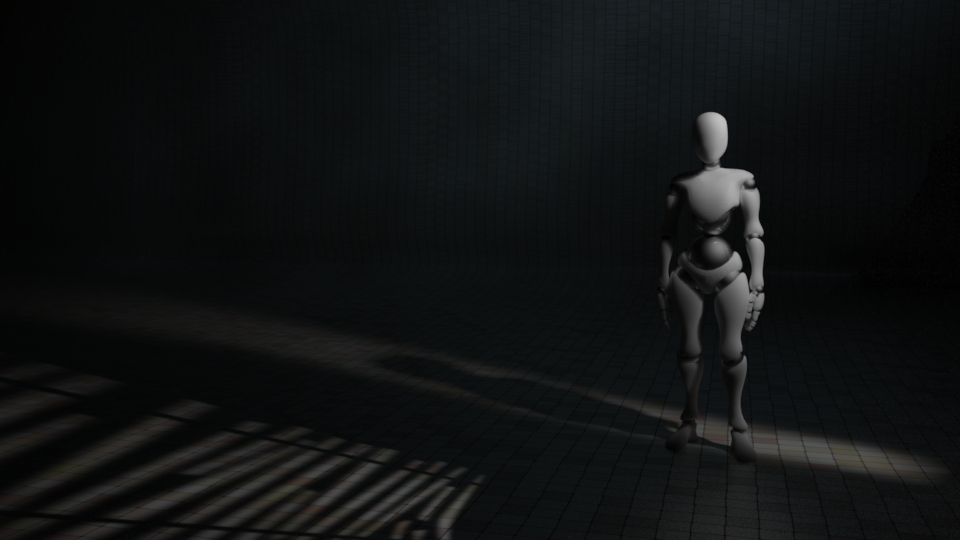
Cookie used on lights to give depth and color variation to the shot
Making a Cookie
In my view, there are 2 types of cookies:
Accurate
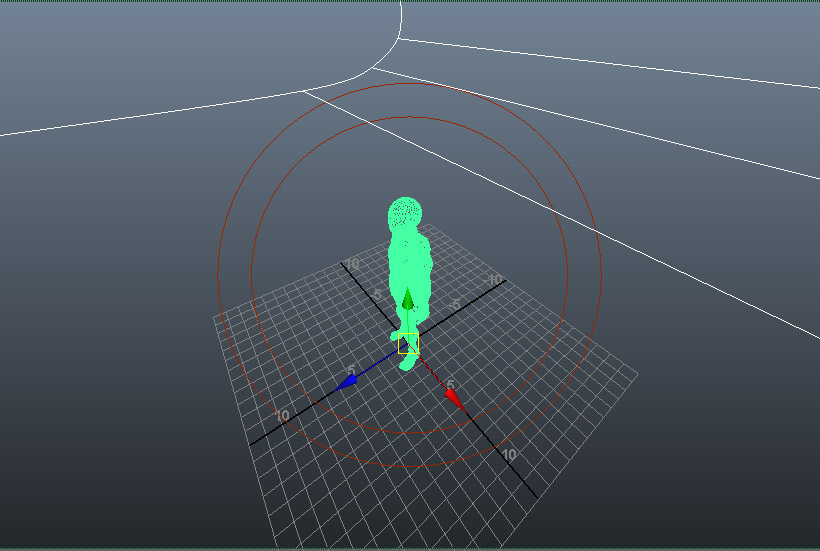
These are the type that have to be tailored to your shot. They have to be very precise, because you want to hide and reveal something to your audience. The best way to create this cookie is to first add and position your light.
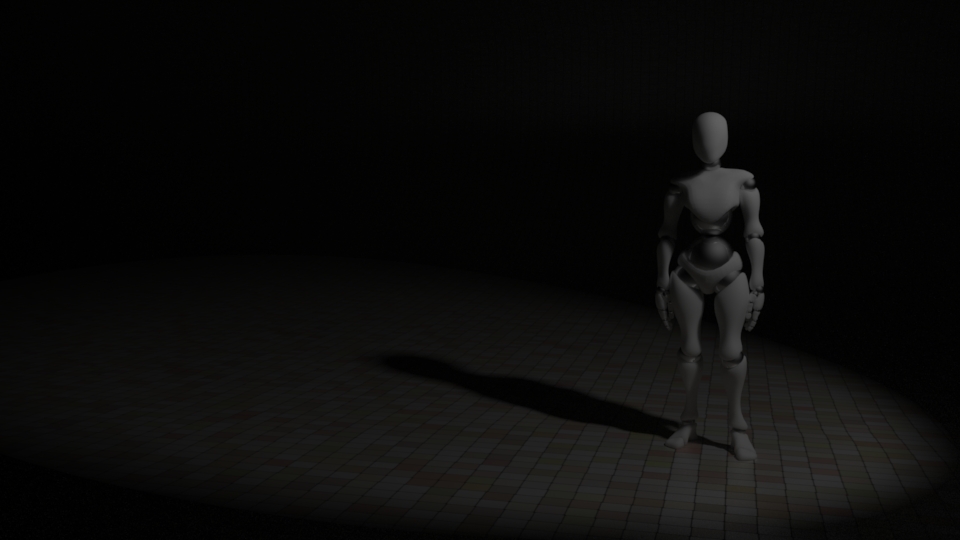
Then you need to look through the light and render its point of view so you can use it as reference to paint your cookie.
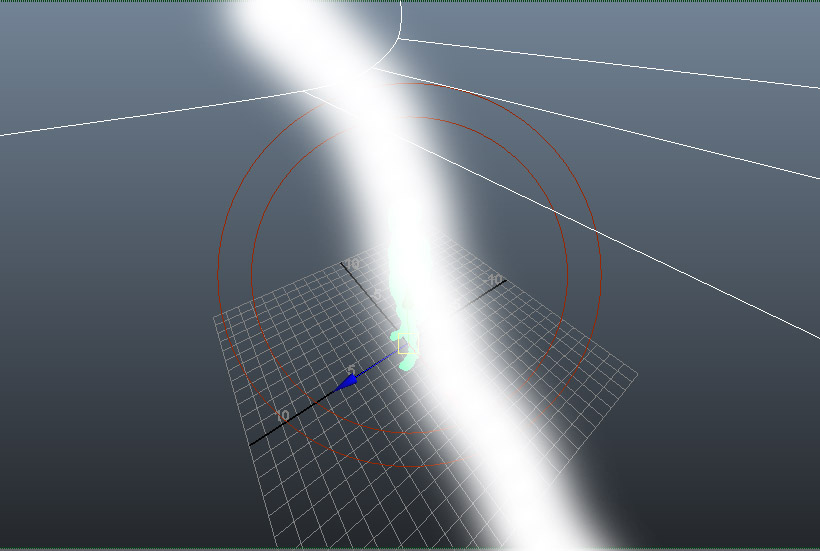

I find that this gives you very accurate results, but you might have to do it many times to get it exactly the way you want it. 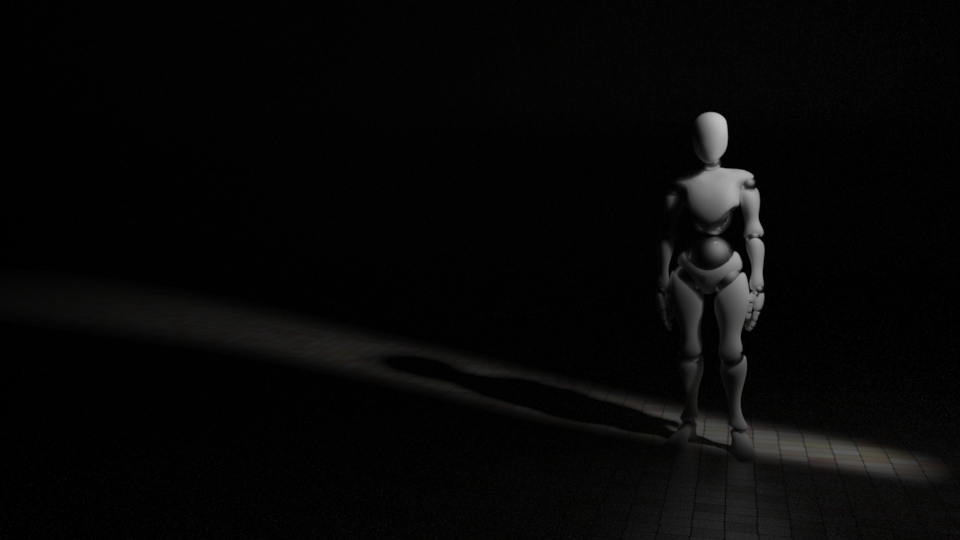
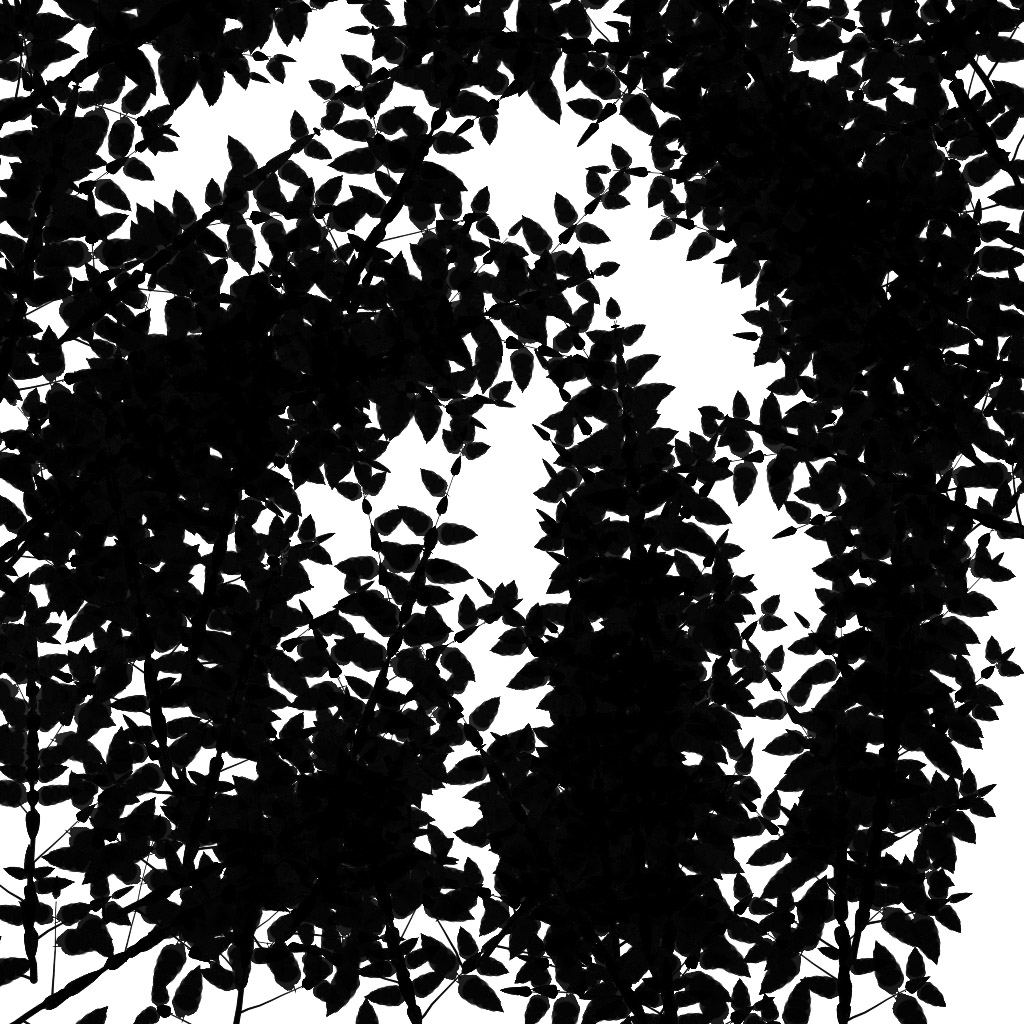
Patterned
These usually come from a library of images. They could even be seamless tiles that can be scaled to fit your lighting. In any case, these are cookies that can be used and re used. The best and most obvious example that comes to mind is light coming through a window.

They are very useful in your lighting composition.
Even procedural maps (noise, caustics, ripples) can be used to create extra variation and depth.

caustic cookie was used to create under water lighting integration
Now let’s talk about my favorite thing to do:
Animated Cookies
If you want to make your shot even more dynamic, then animated cookies would be a great way to do this. This technique helps you give life and a sense of realism to you shot. I would compare it to the effect that a hand held look would give to a shot as opposed to a locked camera. It makes your scene alive.
There are different ways to create an animated cookie. You can do something as simple as shooting shadows on a white cardboard, but I usually do my stuff on Paint Effects, or some other 3D or 2D application.
No matter what you do, the key is to bring life to your lighting.
Conclusion
As a lighting artist, my goal is to always bring realism and dynamic with my lighting. You’d be surprised how the simplest of shots can turn out to be a big challenge. It all depends on how far you want to take it 🙂
How to Enhance Your Lighting Skills

I was recently asked by someone to advice on how to enhance his lighting skills. I thought that this would be a good thing to share with everyone since this is not the first time I’ve been asked this question.
Before answering, let’s first ask:
What Makes a Good Lighter?
In my opinion a good lighter needs to posses good aesthetics and good technical skills. Notice that I said “good” and not “excellent”. Why? because the key is to be able to balance both. Some people are more technical and some are more artistic, but what really matters is how much the artistic and technical complement the overall result. One thing is for sure though, a good lighter has to be creative. He/She has to be creative because a good lighter has to be a problem solver most of the time. This is what most lighters do. We’re at the end of the pipeline, and we’re pretty much the ones that need to patch up and resolve problems and mistakes that were not visible until the lights were turned on.
Now that we know what makes a good lighter, we can answer the question of…
How to Enhance Your Lighting Skills
The first and most obvious answer to this is…
Practice
That’s right! Practice makes perfect. If you spend enough time lighting, you will know what to do and what to look for in order to make the shot beautiful. Sometimes I look at some of the shots I did early on in my career, and I can’t believe I actually thought they were good enough. This brings me very quickly to my second suggestion.
“Plus” Your Shot
Don’t always think that it’s “good enough”. A great artist is a perfectionist. Even if you think that the shot is passable, there are always little details that will make it better.
Get a Camera
Yup! You need to observe the world around you and you need to learn how light behaves in real life. How it reacts on different materials and most of all how the lighting composition affects your shot. I think this is the most important advice I can give to anyone who wants to be better at lighting. CG Lighting is now advanced enough to mimic real life dynamics. Learn how bounce behaves in the real world, use cards to make your shot better, see what tricks you need to use to draw your eye to the subject. Study how reflections and caustics behave in real life.
Borrow Someone’s Eyes
I almost forgot to point this out, but my colleague (Antonio Carrasco Pinto), who sits next to me, reminded me. It is very important to have someone else look at your work and get their input. When you’re working on a shot, it is very easy to get lost in little details and get “tunnel vision”. You’d be surprised what other people will see. This also teaches us to accept critique.
…finally..
Stay Up to Date
Being aware of what new renderers or applications are out there is always a good thing. Knowing the differences between VRay, Arnold and Renderman is something that can help you understand where things are going and how to take the best of their worlds. There’s nothing worse than to be fanatic about just one tool, because in this competitive world things are evolving and getting faster by the minute. So even if you’re a great lighter, but you only want to use Mental Ray… Anyway, you get the idea.
Conclusion
This is my opinion on how to improve your lighting skill. I’m sure there are lots of other things that can help 🙂
![]()
Let’s Get Started!
First of all I want to acknowledge that I’ve been fortunate enough to be doing what I love to do. Aside from music, animation and visual effects are things that I always enjoy and even obsess about. I remember always trying to do trick photographs, and when my dad gave me my first super 8 camera my initial reaction was to film a small spaceship toy I had tied to a string.
….then came this movie:
I knew from that day that somehow I would live inside a computer.
🙂
Recent Comments
PAULO CESAR COTRINO… on Cookies
